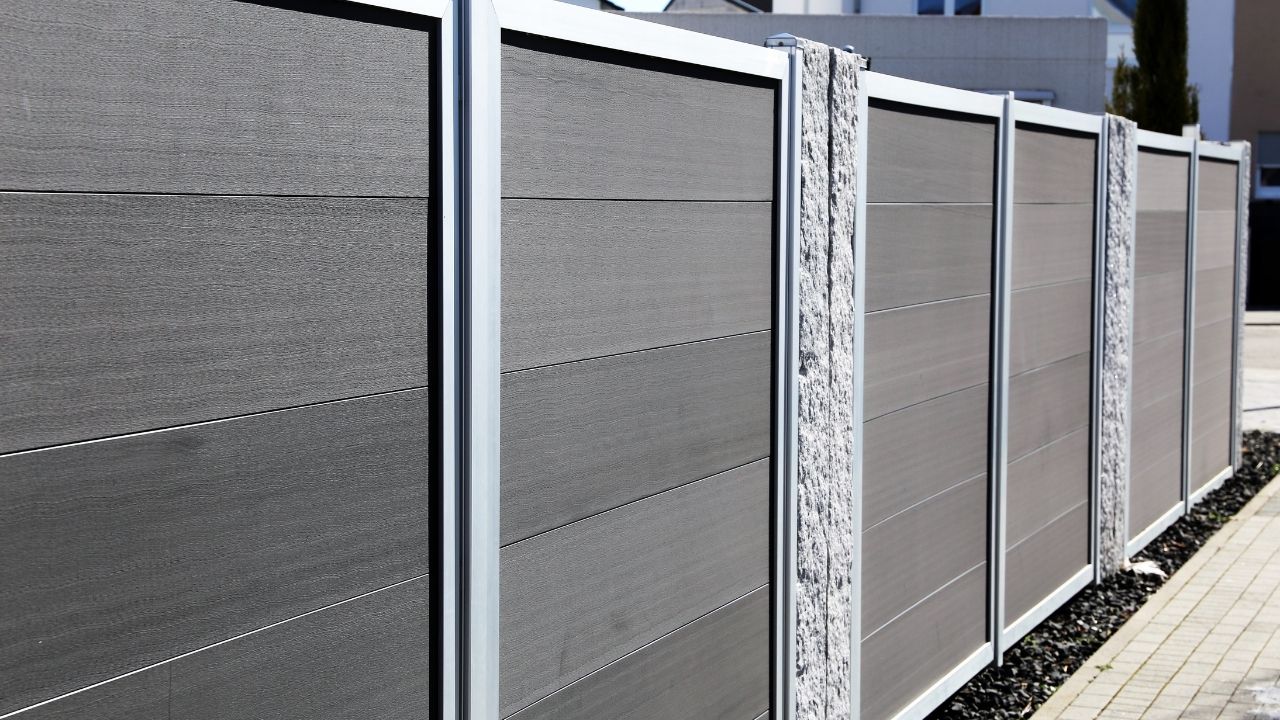
Vinyl fences can be repaired. Vinyl repair kits are a quick and easy way to fix a fence hole. A white vinyl fence will have three holes that can be filled with one repair kit. A different kit will fix the one hole. This article will discuss how to use a repair kit to fix a vinyl-fence hole. You can also find a DIY guide for vinyl fence repairs.
Locating the area that is damaged in a vinyl fence repair is the first step. To remove dirt, oil, and chemicals, you can use a damp rag. Use mild acetone and a damp cloth to clean the area. Before applying adhesive, ensure you read the manufacturer's instructions. Store the materials in a dry place, away from children. You can now enjoy your fence once you've completed the process.
The first step to repairing a vinyl fence is to remove broken pieces. Take out any burrs, splinters or other debris. You will have less appealing results if they interfere with the repair process. Then, you can replace the broken section of the vinyl fence with a replacement panel. If the toprail has become damaged, you can simply take it off and replace it by a new section.
A DIY vinyl fence repair tool is another option. These kits are inexpensive and simple to purchase. For a perfect match, they are also available in color-matched versions. To avoid disassembly, make sure you follow the manufacturer’s instructions. After the installation is complete, you can paint the affected area to match your existing fence. Once you're done, it's time to re-paint your vinyl fence.
You can also purchase a vinyl fence repair kit. These kits come with all the parts that you will need to fix your vinyl fencing. These kits include the panels, as well the rails and pickets. If you need to repair a rail-post joint, these kits are great for this purpose. These kits are versatile and can repair broken rail-post joints. To avoid damaging your fence, be sure to read the instructions from the manufacturer.
Sanding a vinyl fence can be the fastest and most efficient way to make it repairable. You can then fill the gap with auto body filler after you have sanded it. It will blend in the repair area to the rest. This will ensure that the paint sticks to the plastic. These products can be purchased in small containers and shouldn't pose any problems. However, they can leave a permanent impression so it is best to get help from a professional.
FAQ
How important do you need to be preapproved for a mortgage loan?
Pre-approval is crucial for getting a mortgage. It gives you an idea how much money it will cost. This will help you decide if you are eligible for a loan program.
What should I do first when renovating my house?
You must first clear out the clutter outside and inside your home. Next, you will need to eliminate mold, repair or replace any damaged walls, repaint your entire interior, and fix any leaky pipes. Next, clean the exterior surfaces and paint.
In what order should home renovations be done?
The first thing you need to do when renovating your home is to decide where you want to put everything. If you plan to sell your home soon, then you should think about how you would like to present your home to potential buyers. Next, you should start thinking about the design of your kitchen, bathroom, living room, etc. Once you have chosen the rooms you want to remodel, you can start looking for contractors who can help you. Once you have hired a contractor you can begin work on your renovation project.
How many times should I change my furnace's filter?
The answer depends on how often you expect your family to use your home heating system. If you plan to leave your house for long periods of time during cold weather months, you may consider changing your filter more frequently. But if you do not often go outside, it may be possible to wait longer between changing your filter.
A furnace filter typically lasts for three months. Your furnace filter should be replaced every three months.
For information on when to replace your filter, you can consult the manufacturer. Some manufacturers suggest changing your filter every heating season. Others recommend waiting until you see dirt buildup.
Statistics
- Design-builders may ask for a down payment of up to 25% or 33% of the job cost, says the NARI. (kiplinger.com)
- It is advisable, however, to have a contingency of 10–20 per cent to allow for the unexpected expenses that can arise when renovating older homes. (realhomes.com)
- The average fixed rate for a home-equity loan was recently 5.27%, and the average variable rate for a HELOC was 5.49%, according to Bankrate.com. (kiplinger.com)
- Rather, allot 10% to 15% for a contingency fund to pay for unexpected construction issues. (kiplinger.com)
- They'll usually lend up to 90% of your home's "as-completed" value, but no more than $424,100 in most locales or $636,150 in high-cost areas. (kiplinger.com)
External Links
How To
Are you renovating the exterior or interior first?
Which one should i do first?
There are many factors to consider when deciding which project to start with. The most important factor to consider is whether the building has been around for a while. It is important to assess the condition of the roof and windows as well as the doors, flooring, and electrical system. When the building is new, there are many things to consider such as its location, size, number, style, and so forth.
The roof is the most important thing to inspect if the building is older. If the roof looks like it could fall apart any day now, then you might want to get started on the renovation before anything else. If the roof is fine, then you can move onto the next step. Next, examine the windows. You might need to replace them if they are damaged or stained. After that, you can go through all the doors to make sure they are clear of any debris. You can now begin to install the flooring if everything looks fine. It is important that your flooring is strong and stable so that it will not give way no matter what you do. Now you can start to add the walls. Look at the walls and see if they are cracked or damaged. If the wall is fine, then you should proceed to the next step. The ceiling can be finished after the walls have been examined. It is important to inspect the ceiling and ensure it is strong enough for any weight you may place on it. Then you can start your renovations if all goes well.
If the building was newly built, you'd probably start with its exterior. Examine the exterior of the house. Is it clean? Are there cracks anywhere? Does the exterior look great? You should fix any exterior problems. Your home shouldn't look shabby. Next, make sure to check the foundation. You should repair any foundation that appears weak. Also, be sure to check your driveway. You want it to be smooth and flat. It should be smooth and flat. If it isn’t, you need to fix it. The sidewalk should be checked as well when you inspect the driveway. If the sidewalk is uneven, it should be replaced.
Once you've checked all these areas, it is time to move on the inside. Start by looking at the kitchen. Are you satisfied with the cleanliness and maintenance of your kitchen? You should clean up any mess. Next, you should inspect the appliances. The appliances should be in good working order. If they aren’t, you need to either get new ones or fix them. Next, inspect the cabinets. You should paint them if they are damaged or stained. If they are in great condition, then you can go to the bathroom. Check the toilet in here. You should replace it if it leaks. If the surface is just dirty, it should be washed. Next, check out all the fixtures. Make sure they are clean. You should clean them if they are stained. Lastly, check the countertops. If they are chipped or cracked, then you should probably repaint them. Sealant should be used if the surfaces are smooth and shiny.
Final step: Check your furniture. Verify that everything is in good condition. If something is missing or damaged, then you should likely find it. You should repair anything that is damaged. Once everything is checked, then you can move back outside and finish the job.